just follow this guide:
step 1
Download this software pack (Komku-SP-usb.exe - Download ) 1.47MB
this software pack contains 3 application :
-BootSect.exe (Boot Sector Manipulation Tool)
-PeToUSB (http://GoCoding.Com)
-usb_prep8 (Prepares Windows XP Setup LocalSource for Copy to USB-Drive)
step 3:
Double click Komku-SP-usb.exe
step 4:
Insert your USB Flash Drive.
When I made this tutorial, I was using 4GB Transcend USB FlashDrive...
Locate folder C:\Komku\PeToUSB\
double click PeToUSB.exe
a window will appear like this...
Destination Drive : select USB Removable
check on Enable Disk Format
check on Quick Format
check on Enable LBA (FAT 16x)
Drive Label : XP-KOMKU (or whatever you want)
then click Start
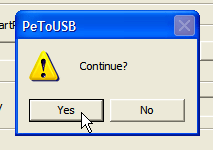
Click Yes to continue....
"You are about to repartition and format a disk. Disk: .... All existing volumes and data on that disk will be lost. Are You Sure You Want To Continue?"
click Yes
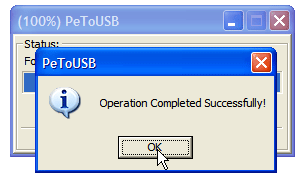
Wait a few seconds...
Click OK, and you can close PeToUSB window.
step 5:
Open Command Prompt ...
Click Start > Run > type cmd > click OK
On Command Prompt window, go to directory C:\Komku\bootsect\
how to do this?
first type this cd\ and press Enter
then type cd komku\bootsect and press Enter
the result...
Don't close Command Prompt window, and go to step 6...
step 6:
on command prompt window, type bootsect /nt52 H:
H: is drive letter for my USB Flash Drive, it may be different with yours...
and press Enter
the result... "Successfully updated filesystem bootcode. Bootcode was succesfully updated on all targeted volumes."
don't close Command Prompt window, and go to step 7...


No comments:
Post a Comment
Note: Only a member of this blog may post a comment.